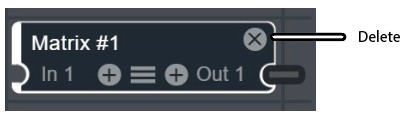
Matrix Module Features
When you first add a matrix module to the signal-flow work area, it has one input and one output. The Controls tab shows one main fader, one input fader, and associated controls.
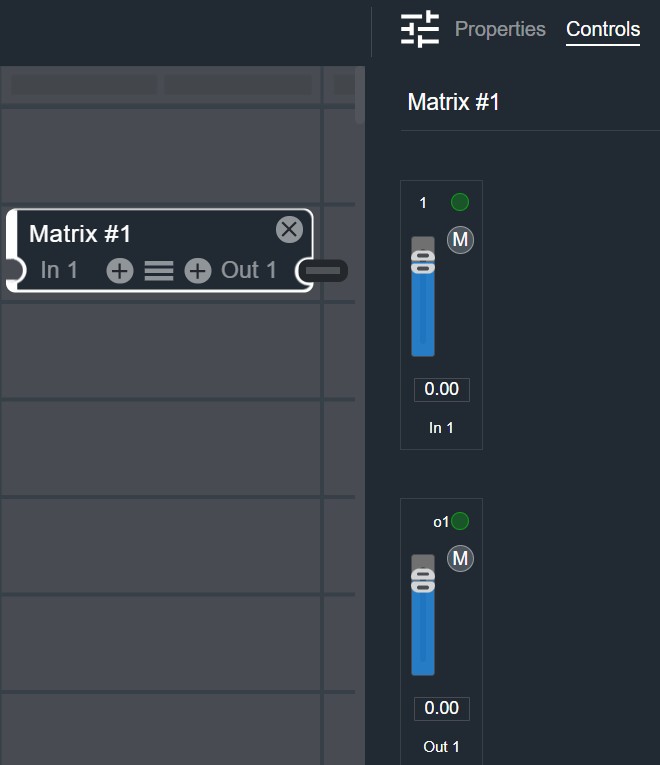
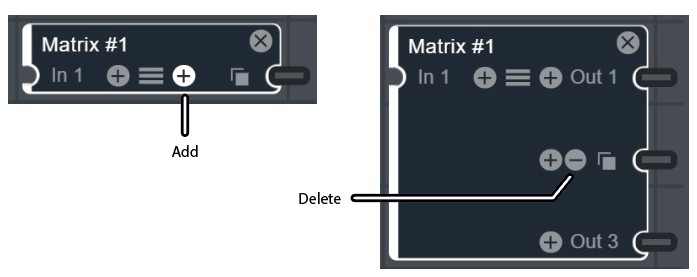
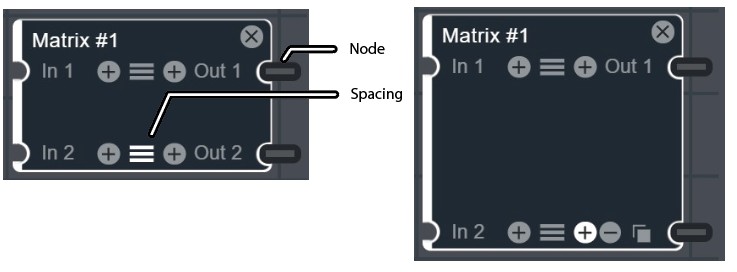
Hover over the module to show additional controls, such as adding an input channel, adjusting the row spacing, duplicating an output channel, and deleting the module. The module outline turns white when selected.
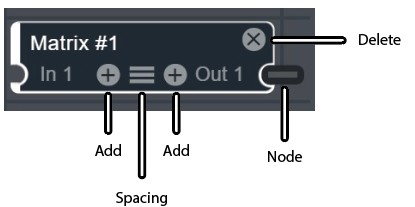
Adding an Input Channel
Click the plus sign to add an input channel. Click the minus sign to delete one.
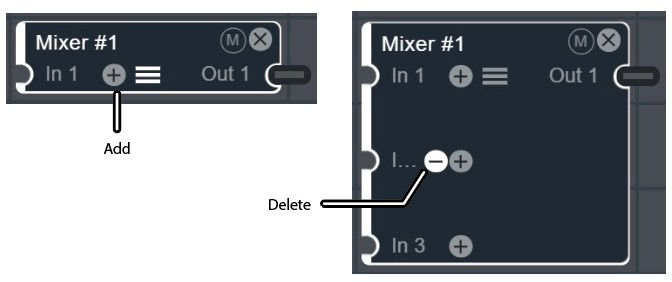
Adding an Output Channel
Click the plus sign to add an output channel. Click the minus sign to delete one.
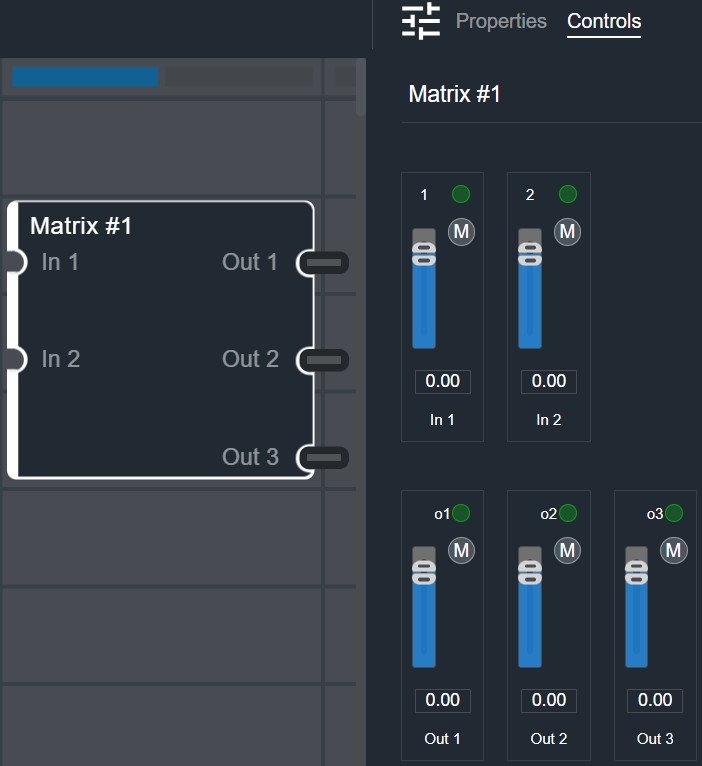
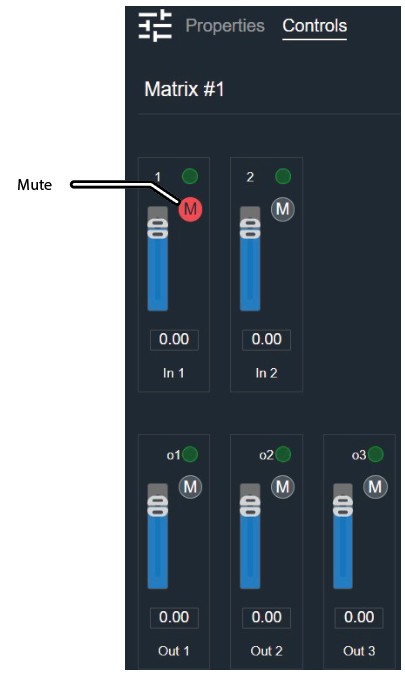
The Controls tab shows the input and output channel controls. In this example, two inputs are added by clicking the input plus sign twice, and three outputs are added by clicking the output plus sign. The Controls tab now shows two input faders and three output faders, each with mute and a numeric readout.
Copying an Output
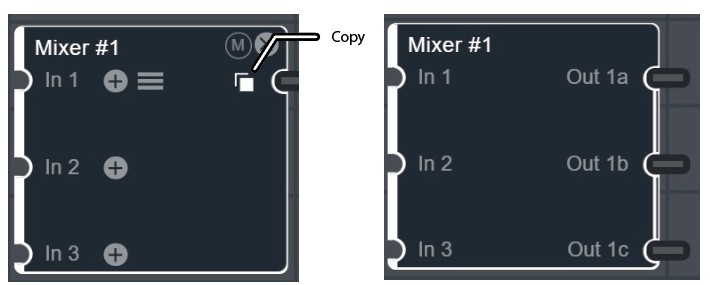
Hover over the output area to show the copy icon. Click it to duplicate the output. For example, output 1 becomes 1a, 1b, and 1c, all identical.
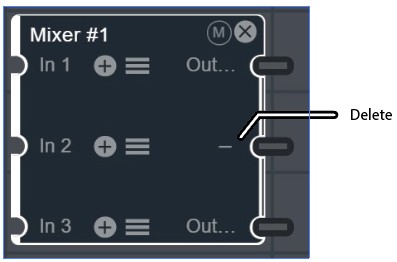
To delete an output, hover over the output and click the minus sign.
Muting the Matrix
The matrix module does not have a main mute button. Instead, mute channels in the Controls tab by clicking the M for each input or output. The M turns into a red circle. Click it again to unmute the channel.
Adjusting the Row Spacing
Click and drag the spacing handles to increase or decrease the physical spacing between rows. Any other modules close below this one move downward automatically. Alternatively, click and drag the input and output nodes to change the spacing independently of each other.
Deleting a Module
Hover in the top-right corner of the module and click the X to delete the module. Press Ctrl+Z to undo the deletion.