Site View Workspace
The Workspace is the central canvas of Site View. It shows every Space in your Site and the devices and Control Panel Groups inside each one. You build a Site here by adding Spaces and then populating them with hardware and controls dragged from the Site View Toolkit.
Adding a Space
When a Site is empty, the Workspace shows a + Add Space prompt in the center.

- Click + Add Space to add a new Space, or drag a Blank Space from the Toolkit onto the Workspace.
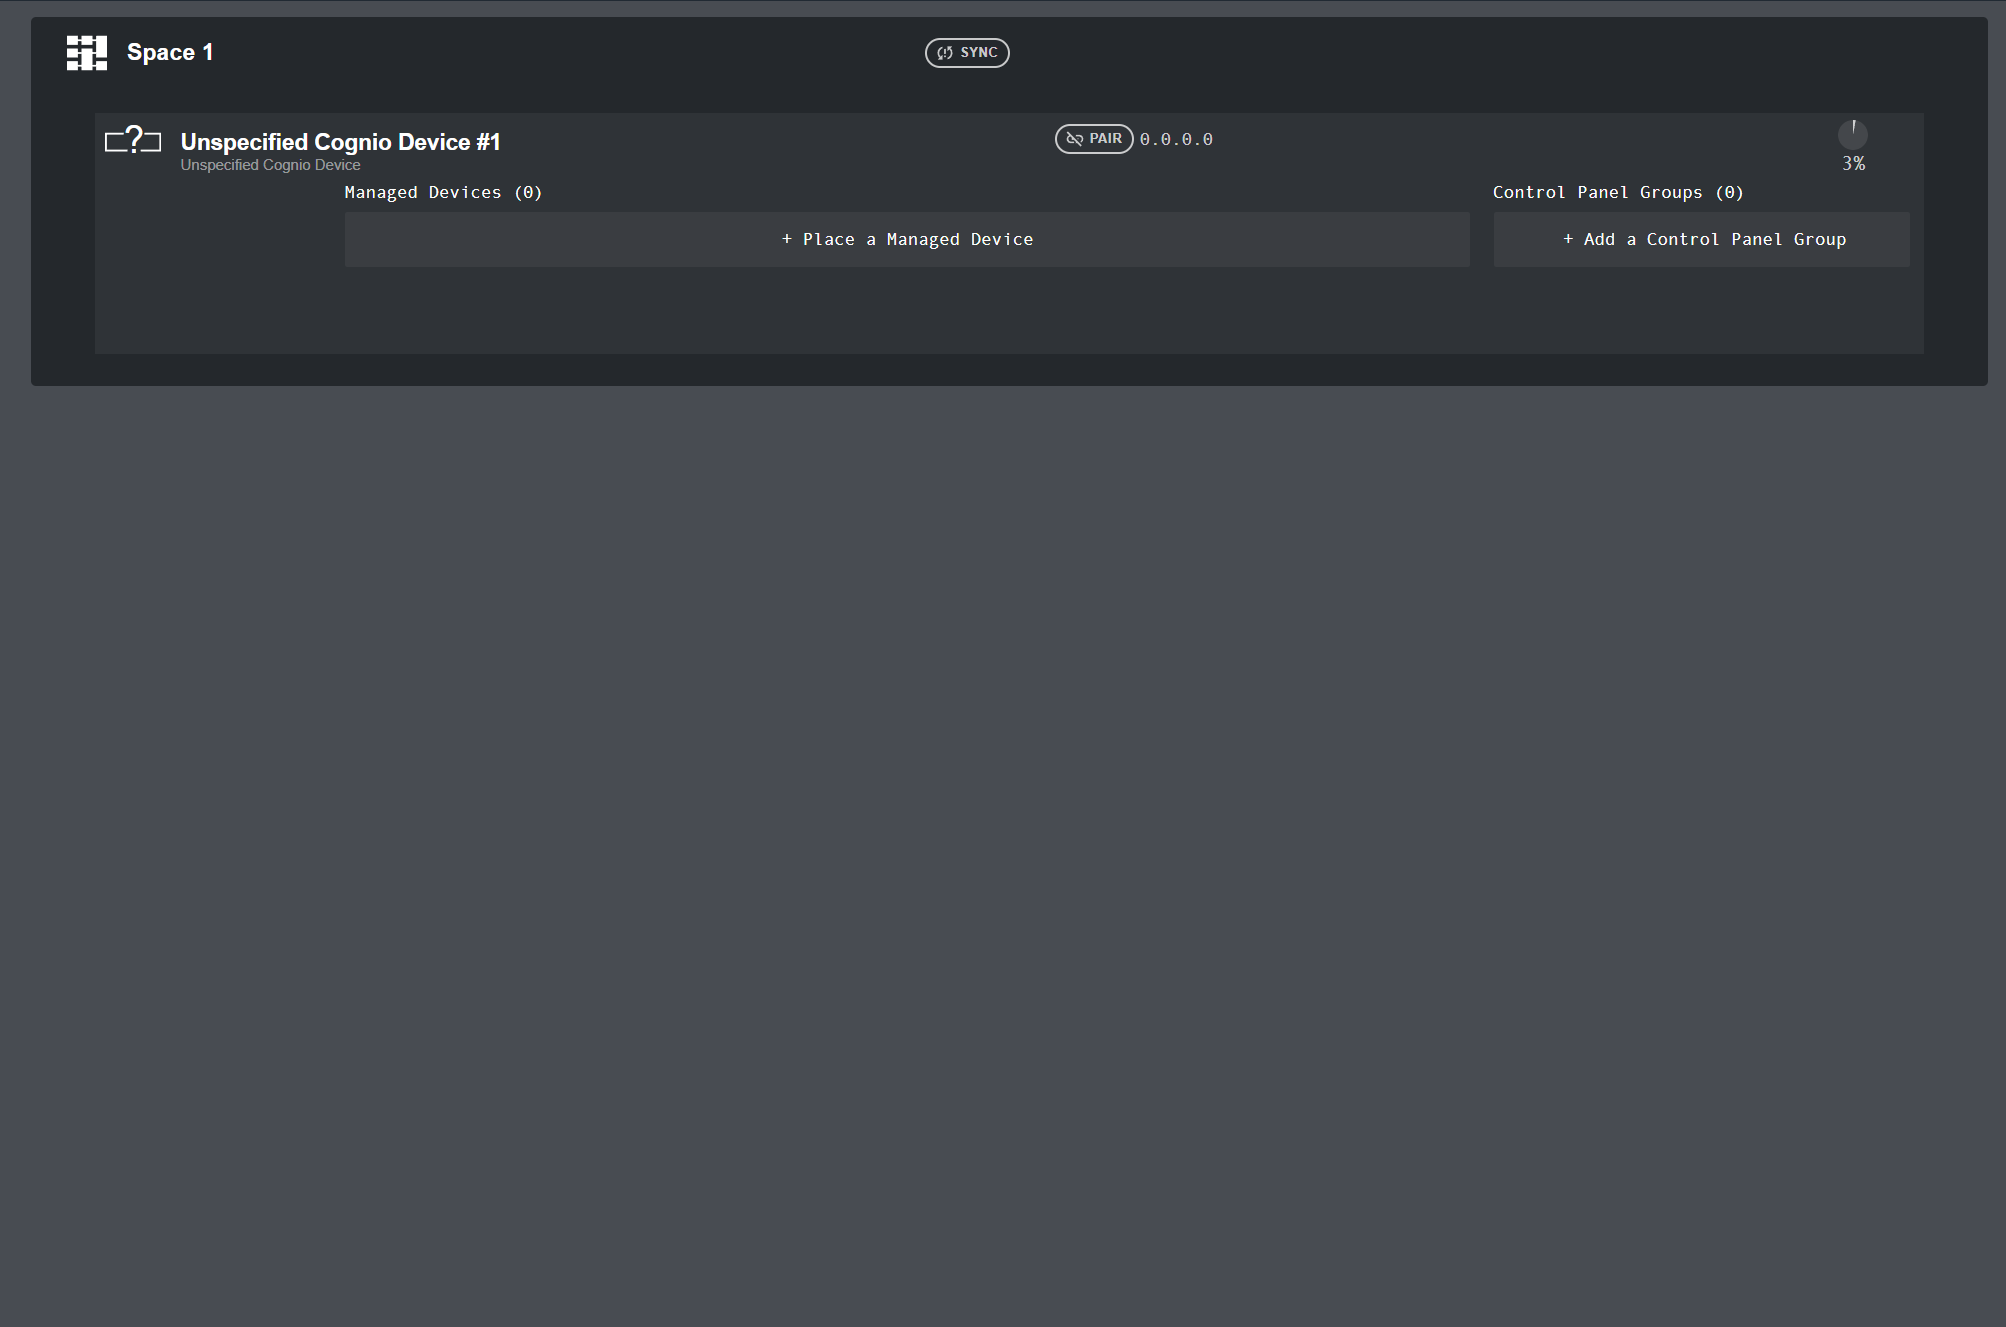
- The new Space appears as a card and starts with one Unspecified Cognio Device, ready for you to assign hardware.
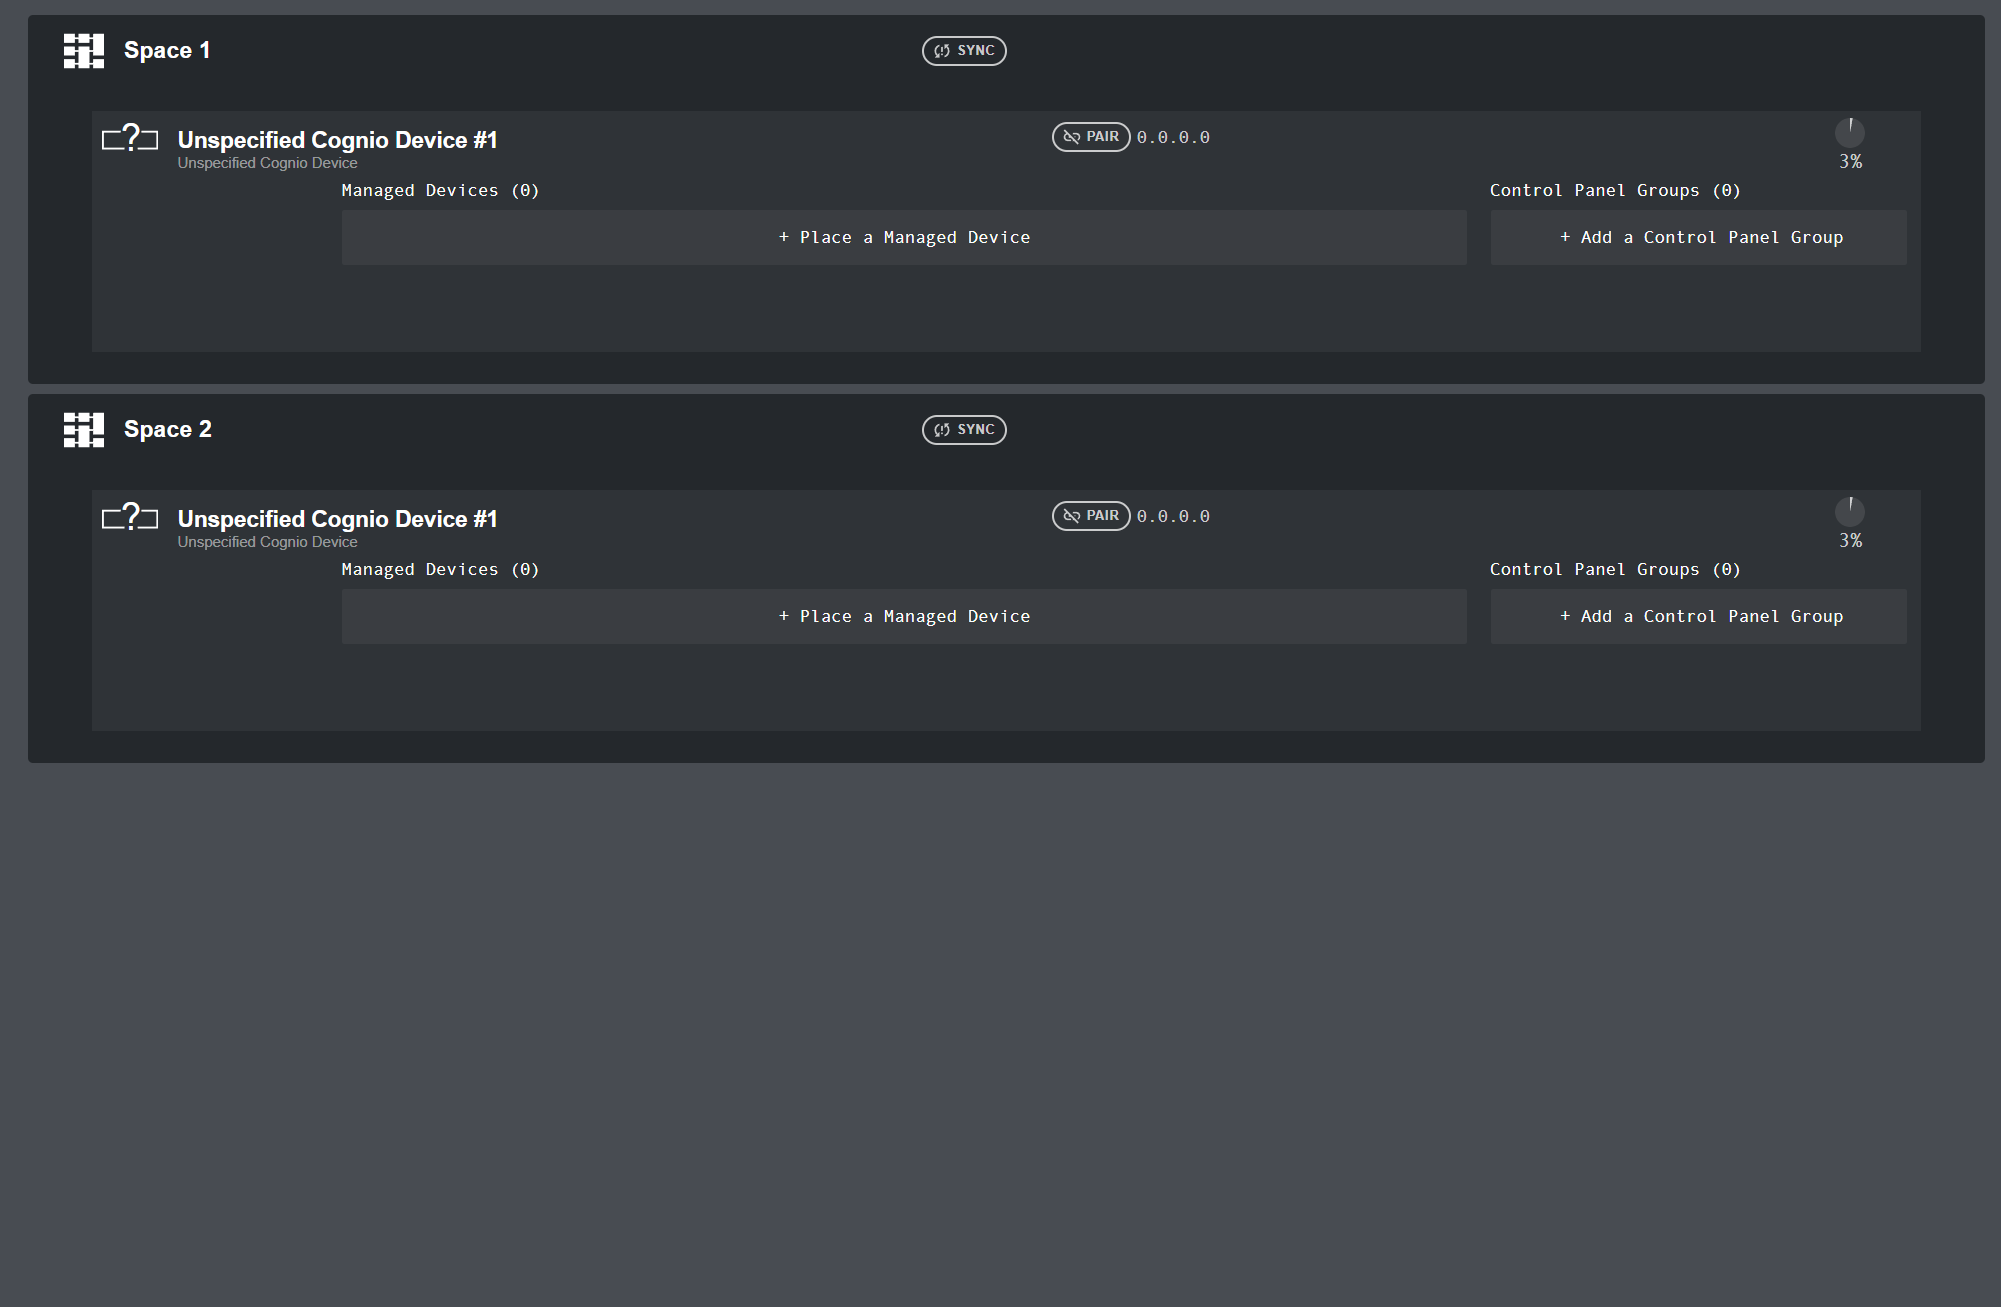
Add as many Spaces as your Site needs. Each Space stacks vertically in the Workspace.
Spaces
Each Space is shown as a card with a header and the device that runs it.
The Space header contains:
- The Space icon and name.
- The Sync button, used to push the Space's design to its paired hardware. See Syncing a Space.
- A delete button (shown when you hover over the header in Design mode) that permanently deletes the Space and everything inside it.
Click a Space to select it and edit its Space Properties. Double-click it to open and edit its Signal Flow.
Devices in a Space
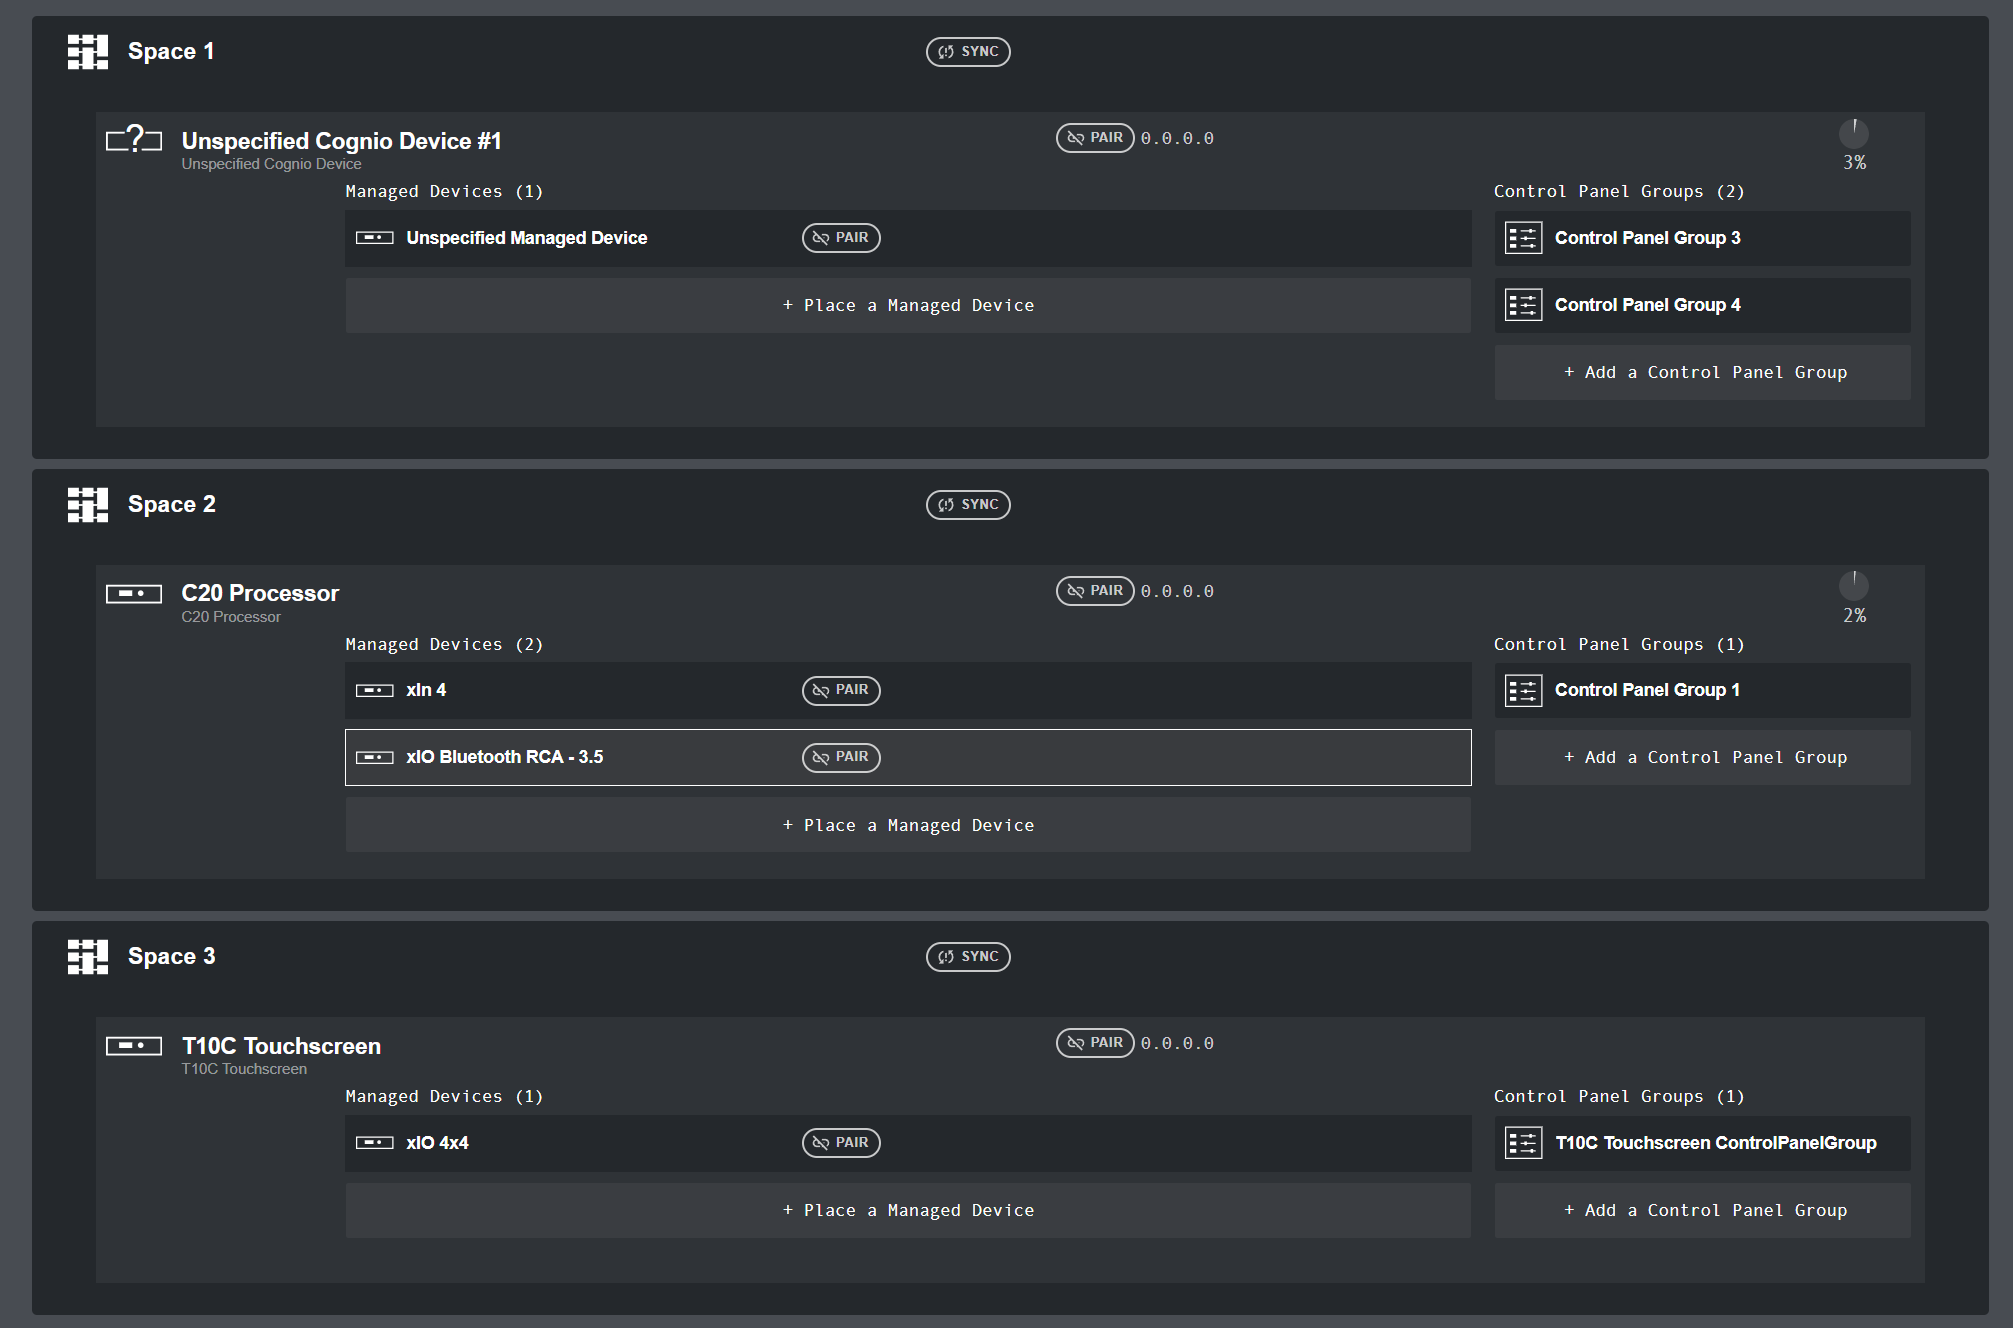
Inside each Space is the Cognio Smart Device that runs it. The device row shows:
- The device icon, its name (for example, Unspecified Cognio Device #1), and its device type beneath the name.
- The Pair button and the device's IP address. See Pairing Devices.
- A DSP usage gauge showing the estimated processing load on the device, based on the modules in its Signal Flow.
To assign specific hardware to an Unspecified Cognio Device, drag a device type (such as a C20 Processor) from the Toolkit onto it. Click the device to select it and edit its Smart Device Properties.
Each device hosts two kinds of items, shown in columns:
Managed Devices
The Managed Devices column lists the Managed Devices hosted by this device, with a count in the heading. Each Managed Device has its own Pair button.
- To add a Managed Device, click + Place a Managed Device, or drag a Managed Device from the Toolkit onto the device.
- Click a Managed Device to edit its Managed Device Properties. Double-click it to open its Control Panel Group in a new tab.
Control Panel Groups
The Control Panel Groups column lists the Control Panel Groups defined on this device, with a count in the heading. Each group is a set of user-facing controls that can be opened from a web browser or displayed on a TC-Series touchscreen.
- To add a Control Panel Group, click + Add a Control Panel Group, or drag a Control Panel Group from the Toolkit onto the device.
- Click a Control Panel Group to edit its CPG Properties. Double-click it to open the control panel editor.
Pairing Devices
Pairing links a device in your design to a real hardware unit discovered on the network. Both Cognio Smart Devices and Managed Devices have a Pair button.
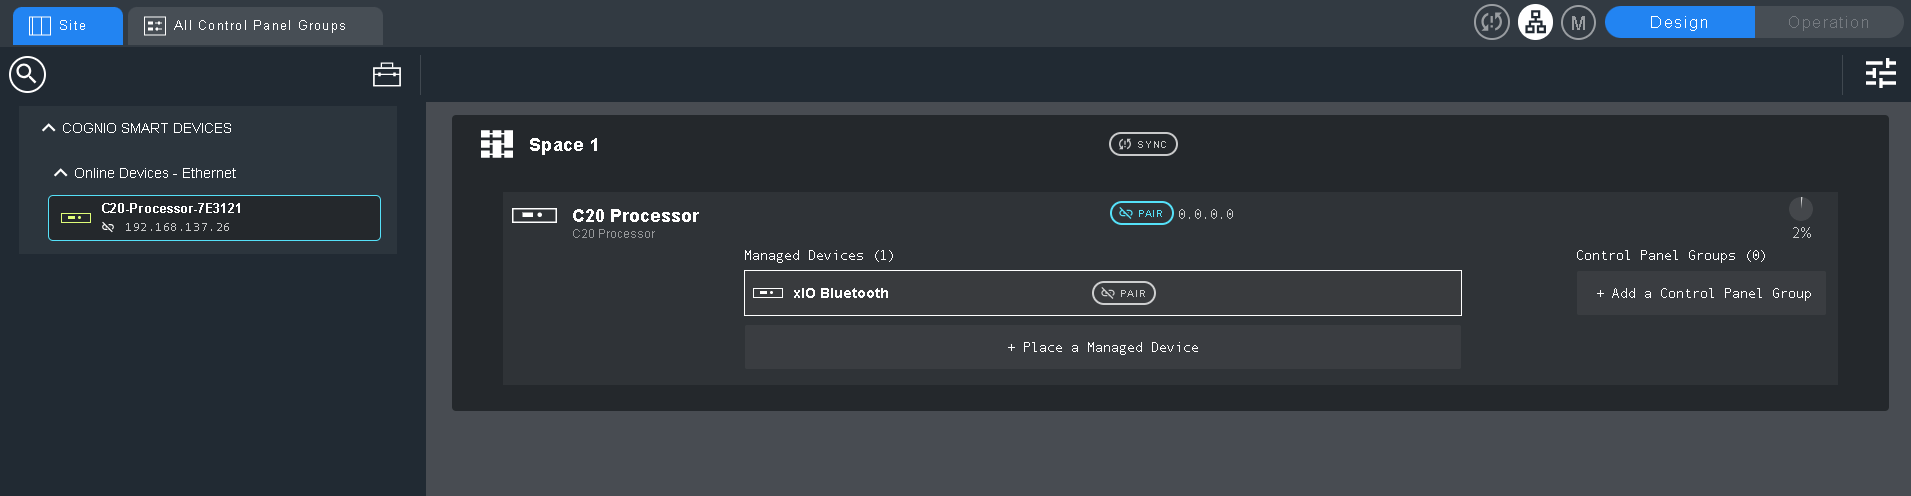
The color of the Pair button shows the device's pairing state:
| State | Meaning |
|---|---|
| Unpaired | The device is not yet linked to any hardware. |
| Pairing | You are choosing the hardware to pair with. |
| Paired, not connected | The device is paired, but the hardware is not currently reachable. |
| Paired and connected | The device is linked to reachable hardware. |
Pair a device
- Click Pair on an unpaired device.
- If Cognio finds a discovered hardware unit that matches the device, a confirmation dialog appears. Choose one of the following:
- Pair Automatically — Pair with the matched hardware unit.
- New Pair — Choose a different discovered unit instead.
- Cancel — Close without pairing.
- If no matching unit is found, the device enters pairing mode and the Toolkit shows the hardware discovered on the network. Click a unit to pair with it.
Unpair a device
- Click Pair on a paired device.
- Confirm the action.
Unpairing disconnects the device from its hardware, and its IP address reverts to 0.0.0.0.
Syncing a Space
Syncing pushes a Space's design to its paired hardware so the hardware runs what you have designed. Use the Sync button in the Space header.
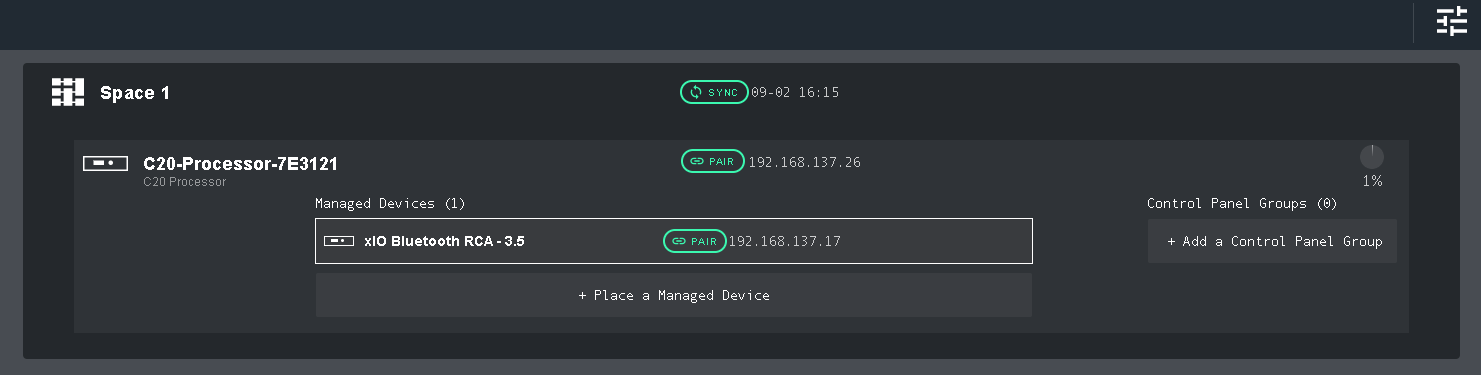
The Sync button shows the sync state of the Space:
| State | Meaning |
|---|---|
| Unsynced | The design has not yet been sent to the hardware. |
| Synced | The hardware matches the design shown here. The last sync time is displayed. |
| Needs Resync | The design has changed since the last sync. |
Before you can sync, every device in the Space must be paired and connected. If a device is not paired or not connected, Cognio tells you which device needs attention and stops the sync.
Sync a Space
- Click Sync in the Space header.
- If prompted, choose how to sync:
- Push — Send the design from Cognio to the hardware.
- Pull — Retrieve the design currently on the hardware into Cognio.
- Resync — Re-send the changed design to the hardware (shown when the Space needs resyncing).
- If you have unsaved changes, Cognio prompts you to save before pushing.
When a Space is already synced, clicking Sync unsyncs all of its devices.